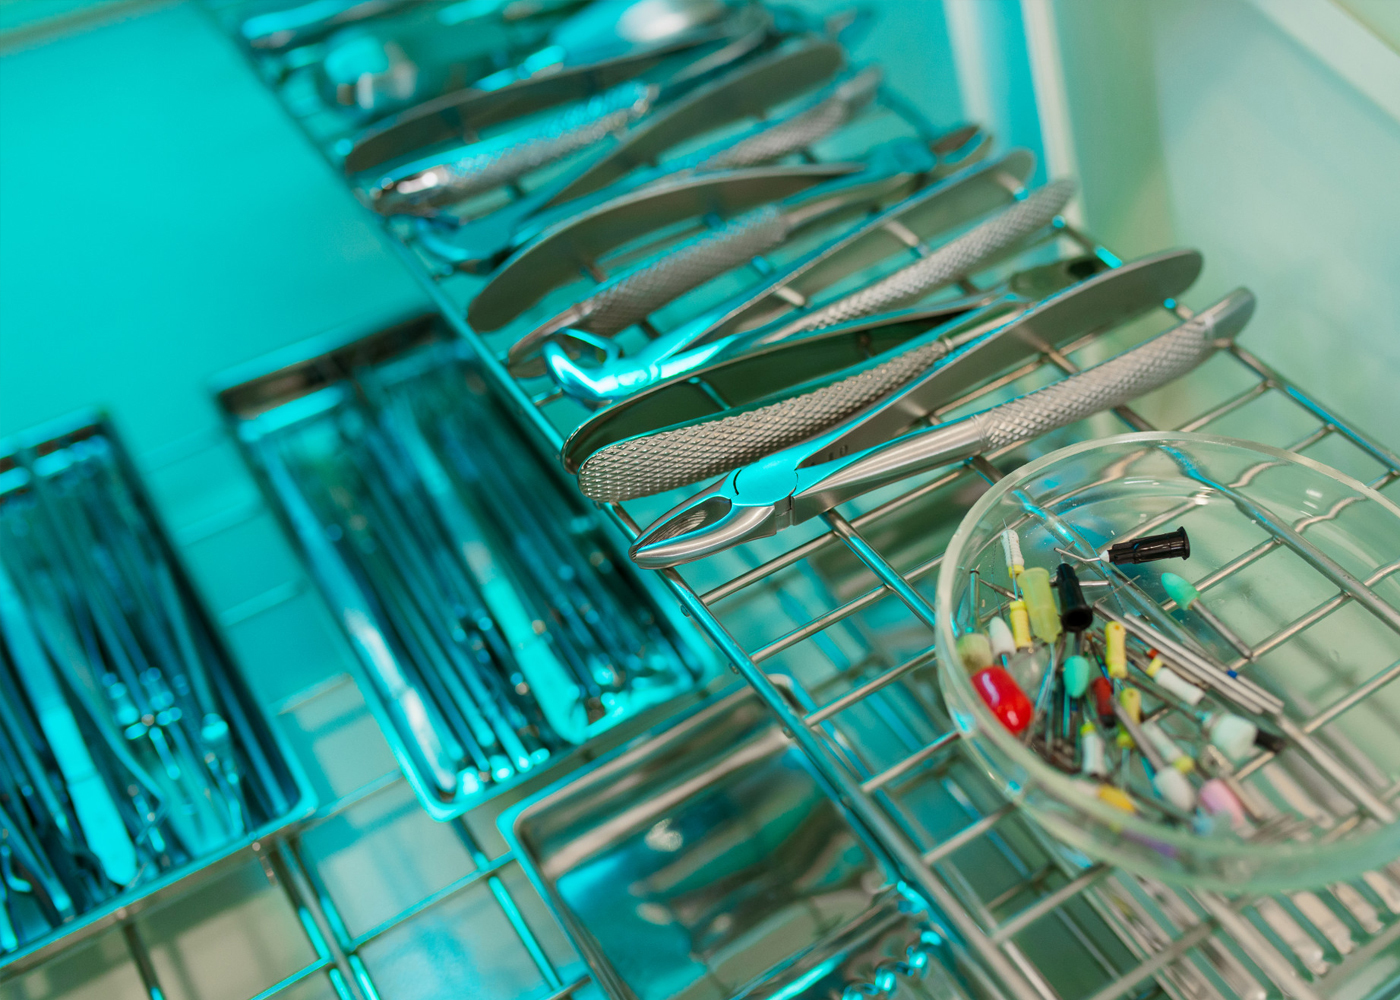

Step 1: Visual Check – Be a “Detail Detective”
Treat it like inspecting a new smartphone:
• Use a magnifier to spot hairline cracks at joints
• Check if scissor blades align perfectly (try cutting paper)
• Reject instruments with rust spots or peeling coatings
Step 2: Material Quality Test
Think “Goldilocks principle” – not too heavy, not too light:
• Quality instruments feel substantial but balanced
• Joints should open/close smoothly (like new kitchen shears)
• Tap blades gently – good steel rings like a tuning fork
Step 3: Functionality Trial
Test-drive like a car buyer:
• Clamp rubber tubing with hemostats for 3 mins – no permanent dent
• Electrosurgical pencil should spark evenly on wet gauze
• Suction devices must maintain steady airflow
Step 4: Sterilization Survival Check
Pretend you’re testing waterproof gear:
• Look for corrosion after steam sterilization
• Ensure printed labels survive autoclave cycles
• Packaging seals shouldn’t peel when tugged
Step 5: Lifetime Care Tips
Treat instruments like luxury watches:
• Track usage counts (stick maintenance stickers)
• Lubricate joints monthly with instrument oil
• Retire tools that develop “grinding” noises
Key Reminders
🚩 Handle micro-instruments like fragile jewelry
🚩 Never force stuck instruments – report immediately
🚩 Full maintenance check every 90 days
This version replaces technical jargon with household analogies while preserving critical quality criteria. It aligns with ISO 17664 standards for instrument processing, adapted for non-technical staff training. Let me know if you need specific sections expanded!